
How to Wash Dreads and More
There’s a lot of info on how to wash dreads and general dreadlock care out there. However, the most important thing to remember is always use your common sense in keeping them as clean as possible.
For example, if you work a smelly job like dishwashing, or are planning to camp or sleep outdoors, always make sure you wear a hat to prevent smells, dirt or bugs from being trapped in your locks. Or, some people like to give their head a quick dip in the ocean, as salt water can help to tighten loose locks. While dipping your dreads in a clean part of the ocean can be a very nice ritual, if you’re just not sure how clean it is in there, resist and DON’T DO IT. A little salt water in a spray bottle once in a while will do the same for your dreads and helps them stay cleaner. REPEAT: it’s very important to use your head in keeping your locks as fresh and sweet-smelling as possible.
Read on for more Knotty Boy tips on maintaing your new dreads!
DETAILED INSTRUCTIONS
Step 1 {Washing}
Washing your dreads regularily is key to growing a healthy head of locks. Contrary to popular belief, shampooing your hair will actually help dreads develop faster and tighter, with the added bonus of smelling great!
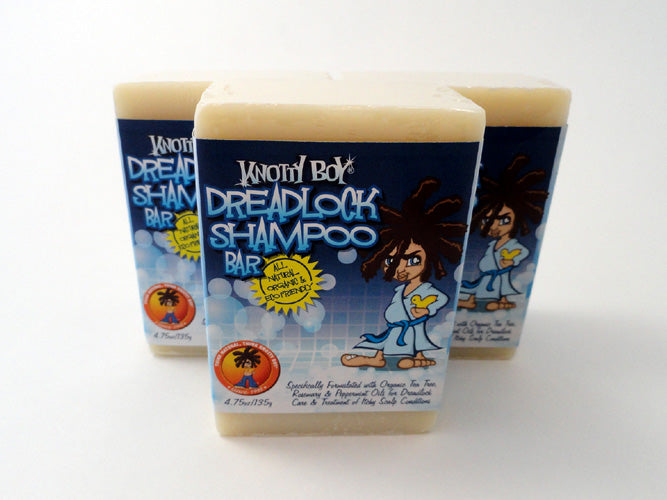
Once you’ve waited 1-2 weeks after creating your locks, you can begin washing them once every week or so, depending on your need. When you wash dreads, you only need to be concerned with your scalp – don’t worry about soaping up your locks. Give it a good scrub with the Knotty Boy Dread Shampoo Bar or Liquid Shampoo, following the detailed instructions found on the Shampoo pages. Both are formulated especially for folks with dreadlocks, and are designed to rinse cleanly leaving no residue behind. (Most other shampoos are made with chemical conditioning ingredients that un-tangle knots – exactly what you’re trying not to do!) The water and shampoo rinsing from your scalp will be enough to cleanse the locks themselves.
Washing with Knotty Boy Dread Shampoo also helps prevent, cool and treat scalp irritation or itchiness that develops – a real lifesaver sometimes! See Troubleshooting below for more info on itchy scalps.
Step 2 {Palm Rolling}
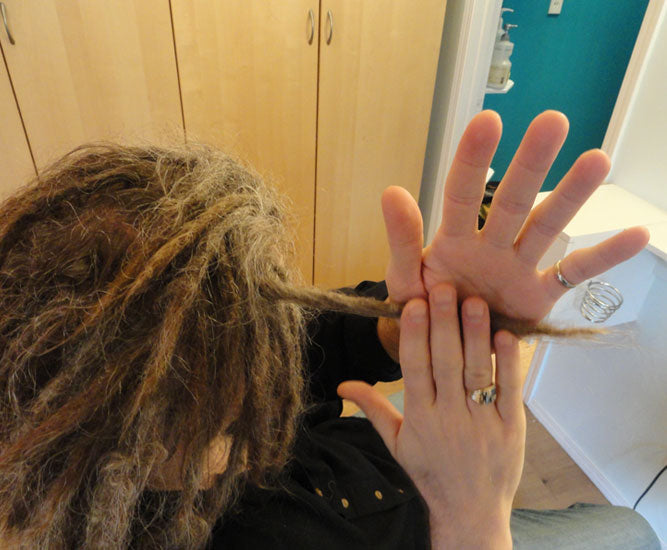
Palm rolling is your most basic, and most important, tool of maintenance. Most lumps, bumps, kinks and general disarray can be prevented and cured with regular palm rolling. Doing this when your hair is damp will help them keep a cylindrical shape, as well as encourage loose hairs to reintegrate back into the lock. It will also help separate and keep new locks from grabbing onto and growing into each other.
To palm roll, start at the root and briskly roll your dread between your palms to the end.
Step 3 {Drying}
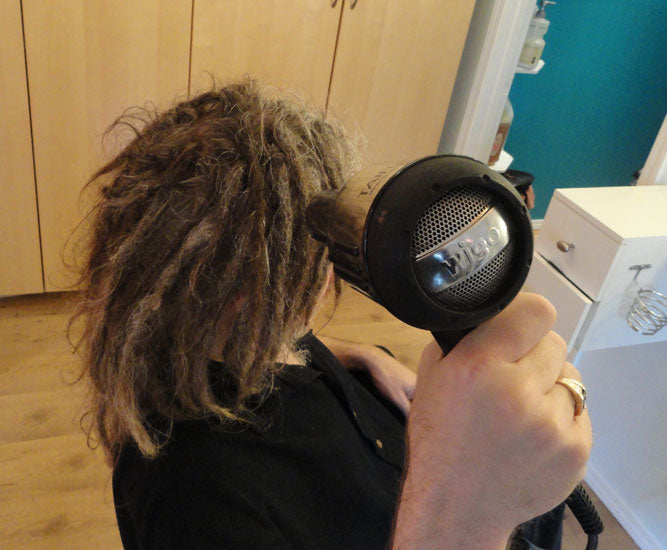
Most horror stories about smelly dreads have a common cause: trapped moisture! Making sure your dreads are 100% dry, all the way through, will prevent that musty, stanky-towel smell from developing. If you wash your hair more than once a week, or otherwise wet your locks often, make sure to use a blowdryer to accelerate the drying process. If you’ve got the time, air drying is also fine. Simply wait a day or two before proceeding with any maintenance routine that involves using Wax.
Here are a few guidelines to follow:
- Don’t tie up your wet dreads or pile them in a hat. Air must circulate freely!
- NEVER apply Wax to wet hair. This will trap moisture inside, creating a stinky mess.
- Use a shower cap when showering but not washing hair.
Step 4 {Waxing}
Once your hair is dry, if you notice a lot of loose hair or knots that seem to be coming apart, apply a little more Wax to your dreads. If you have a jar of Wax, dig out a pea-sized amount and massage it into the locks that need it, starting at the root and working down to the end. Remember – less is more with this Wax! You only need enough to bind the hair together, not coat it. If you are using the Knotty Boy Wax Stick, just lightly run it down the body of the dread and massage it in with your fingers in the same way.
Once you’ve applied more Wax, it’s time to palm roll again! Didn’t we mention it’s the most important tool in your hands? Not to mention, the best way to get that Wax inside the lock to do its work.
NOTE: It’s worth repeating. Never, EVER apply Wax to wet or damp dreadlocks. Remember what we said in Step 3 about trapped moisture? Doing so can start a colony of mould and mildew growing inside those spongy dreads, causing that very same wet-dog smell you may have noticed emanating from certain well-meaning dreadheads out there. This smell nearly always comes either from locks that have not been allowed to dry thoroughly between washings, washing too frequently, waxing wet locks, or all of the above. Prevent this from happening to you simply by allowing your locks to dry completely before putting anything in, or on, them.

Step 5 {Sleeping with Locks}
It’s a good idea to either find an old pillow case you don’t care about to put on your pillow for the next while, or pin a towel to the pillow. Knotty Boy isn’t slimy or anything, but it may get your pillow a bit waxy after just having put it in your hair.
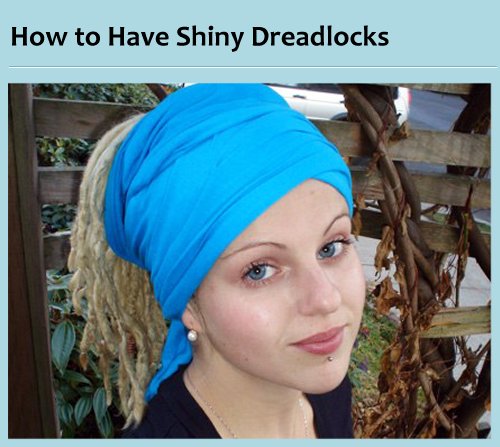
If your locks are long enough, tie them back, and if they’re short you can always wear a Knotty Boy hat or band, or nylon stocking to keep them away from your face. Doing this will also help keep them from rubbing apart and getting really fuzzy when you sleep.
Step 6 {Tightening}
Once your hair has started to form into real locks (anywhere after about 2-6 months), you can start using the Wax less frequently, but still on occasion to get the loose hair back into the main locks and give them a bit of grooming whenever necessary. At this stage of maturity, the waxiness lasts for only about a day after you reapply it. Feel free to still use your comb to backcomb loose hair into locks again, don’t forget to palm roll, palm roll, palm roll, and consider adding to your maintenance regiment the ever-popular LockSteady Tropical Tightening Gelfor quick and easy tidying and increased lock-acceleration.
